Toolchain Long-Term Support for Flight Controller Introduction 
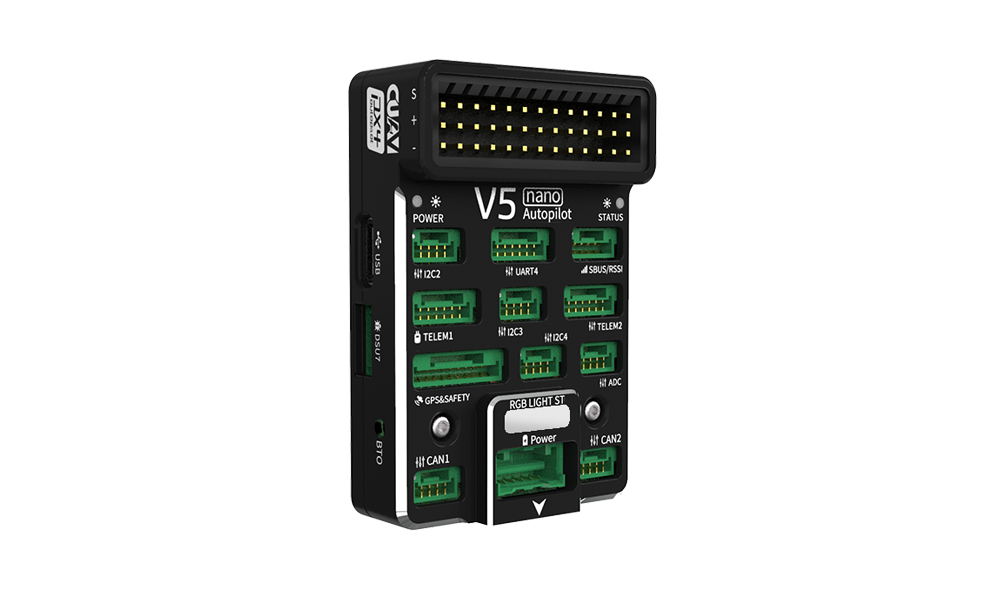
1. CUAV V5 nano
The V5 nano® is an autopilot designed by CUAV® in collaboration with the PX4 team, specifically for enterprises or enthusiasts with stringent space constraints who still desire the powerful capabilities of the V5 series. Its design is based on the Pixhawk FMUv5 standard and is fully compatible with PX4 and ArduPilot firmware. Although the V5 nano is physically smaller than the V5 Autopilot, its performance remains uncompromised: it is equipped with a high-performance STM32F765 processor and features four sets of fully isolated interface protection chips, effectively preventing electrostatic discharge damage and main controller damage due to IO voltage level incompatibility. For more information, please visit: https://www.cuav.net/v5-nano/.
2. RflySim Configuration
Use the software installation and configuration shown in the figure below, and the hardware connection configuration shown in the lower-right figure.
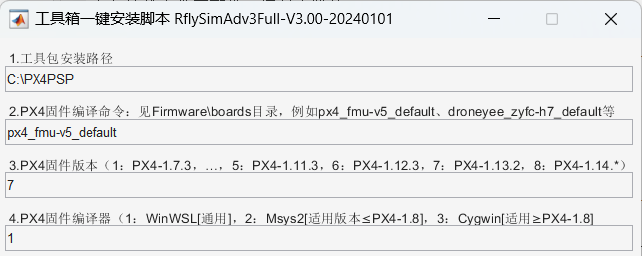
- Use the
px4_fmu-v5_defaultcompilation command. - Select “7”: Firmware version PX4 1.13.2.
- Select “1”: WinWSL compiler.
3. Official Firmware Flashing and Restoration
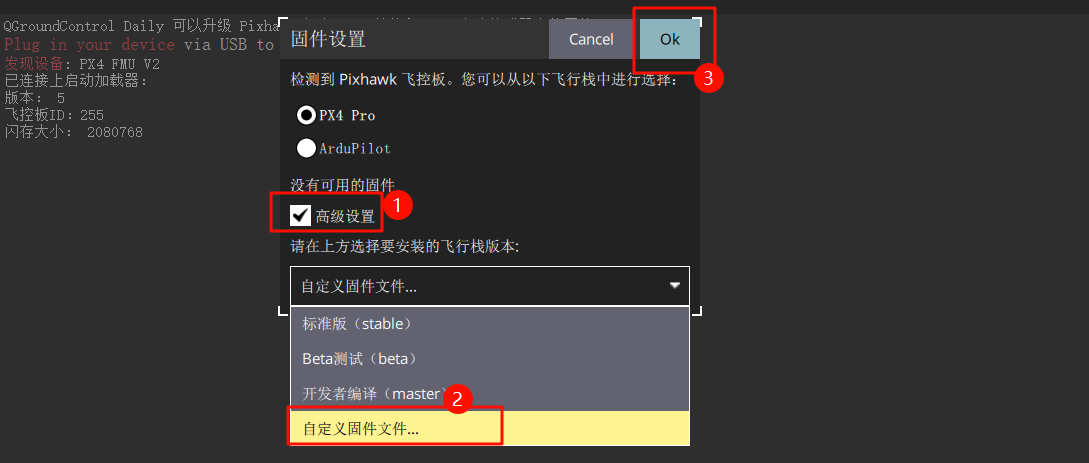
Open QGroundControl (QGC) and navigate to the following interface.
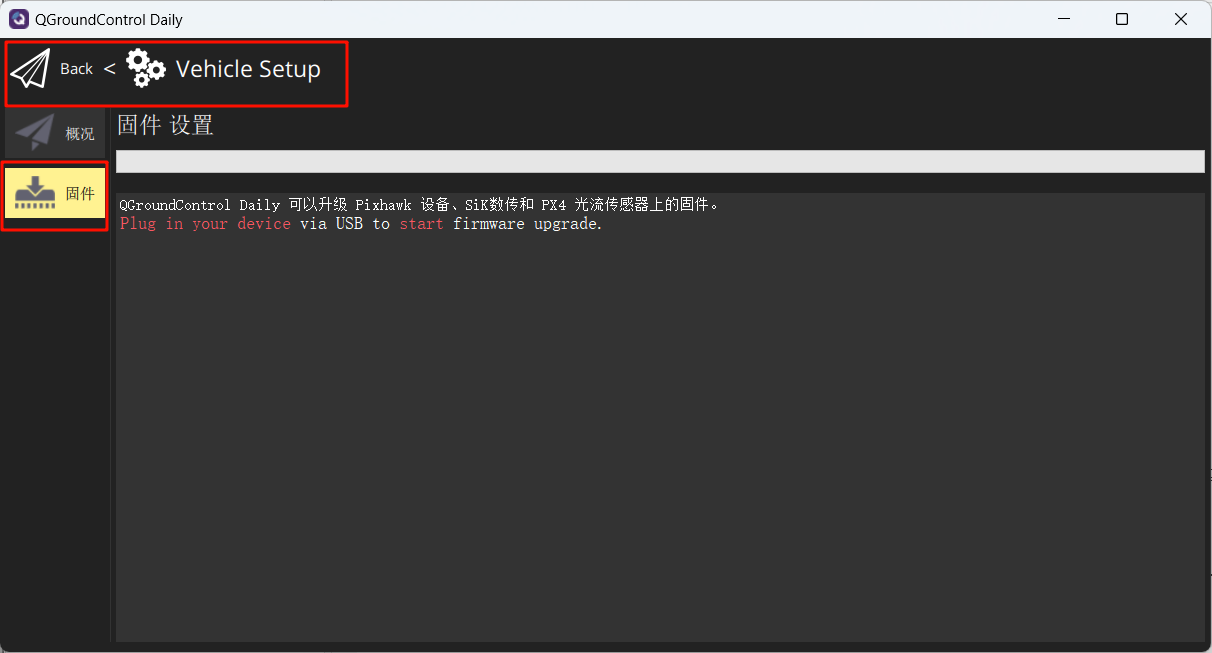
Connect the flight controller to your computer. In the pop-up interface, select firmware flashing: px4_fmu-v5_default.px4
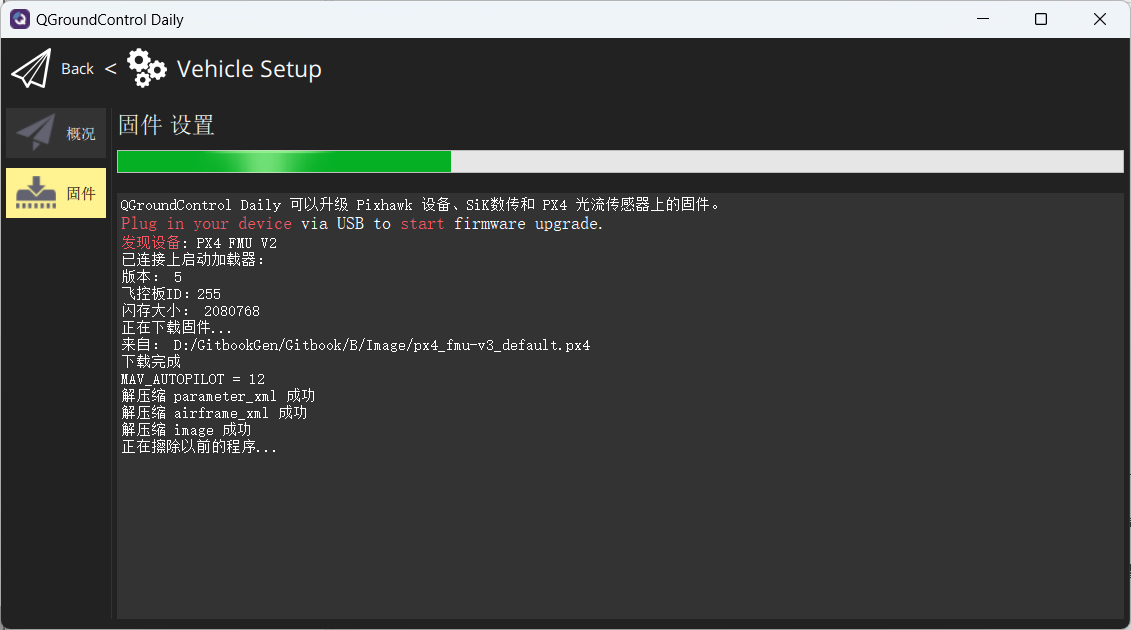
Wait for the firmware flashing process to complete.
Restore flight controller parameters to firmware defaults.

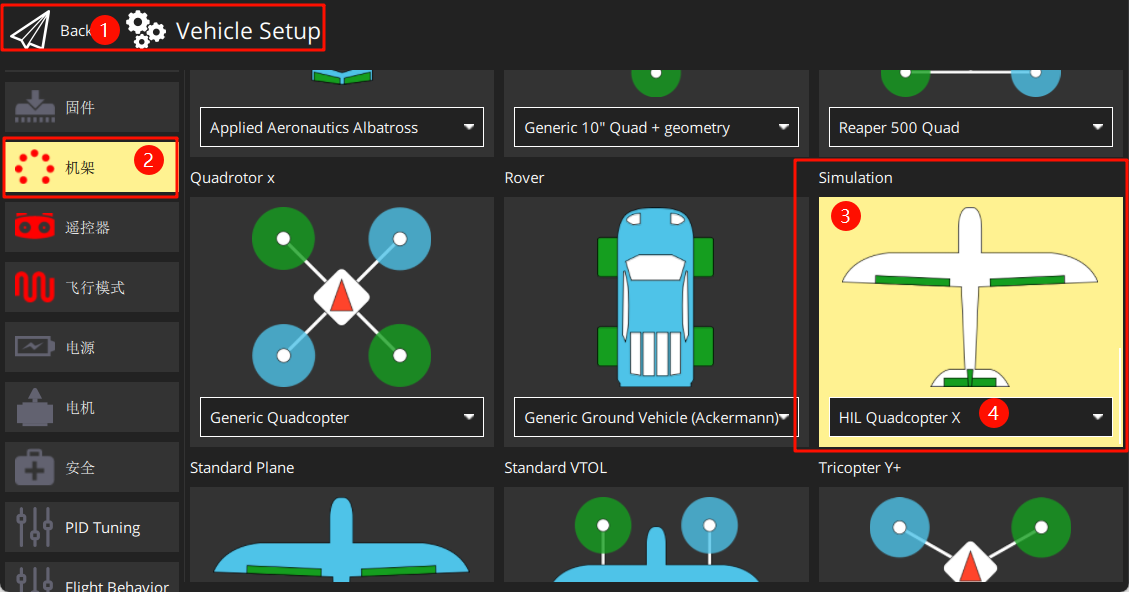
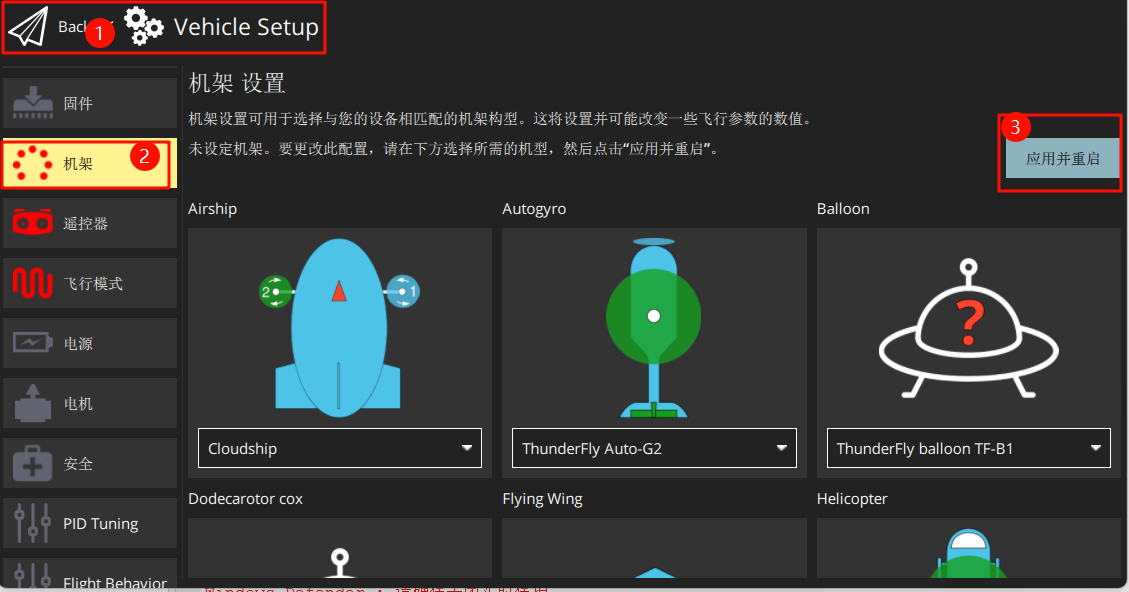
Set the airframe to “HIL Quadcopter X”, scroll to the top, and click “Apply and Restart”. Wait for the restart to complete.
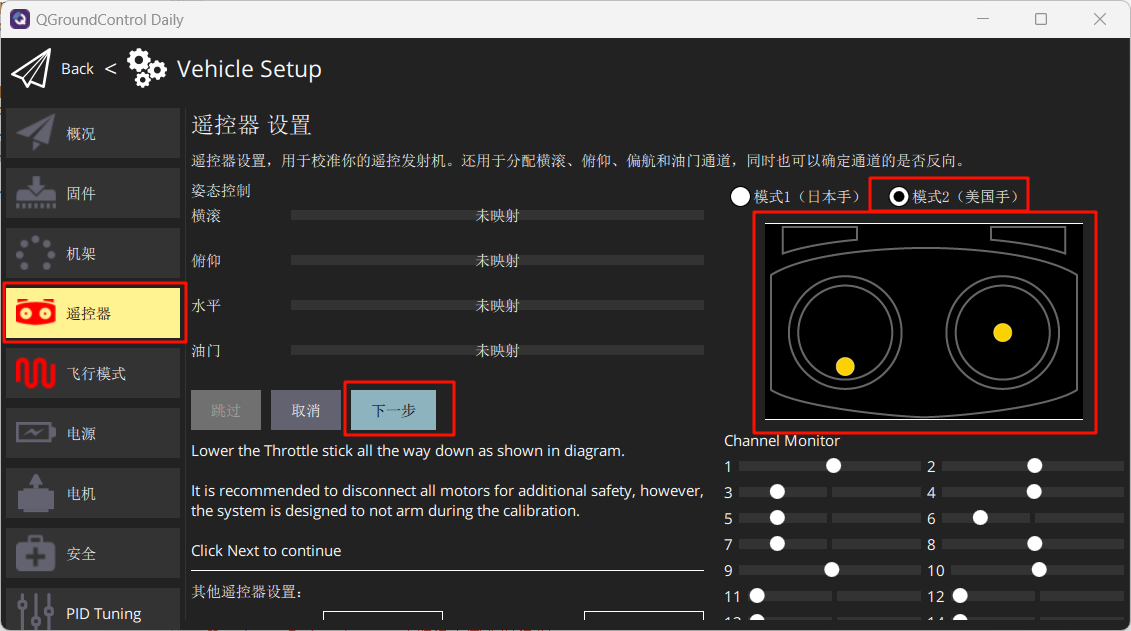
Connect the remote control receiver (note the wiring sequence) and power on the remote control. Calibrate the remote control as shown.
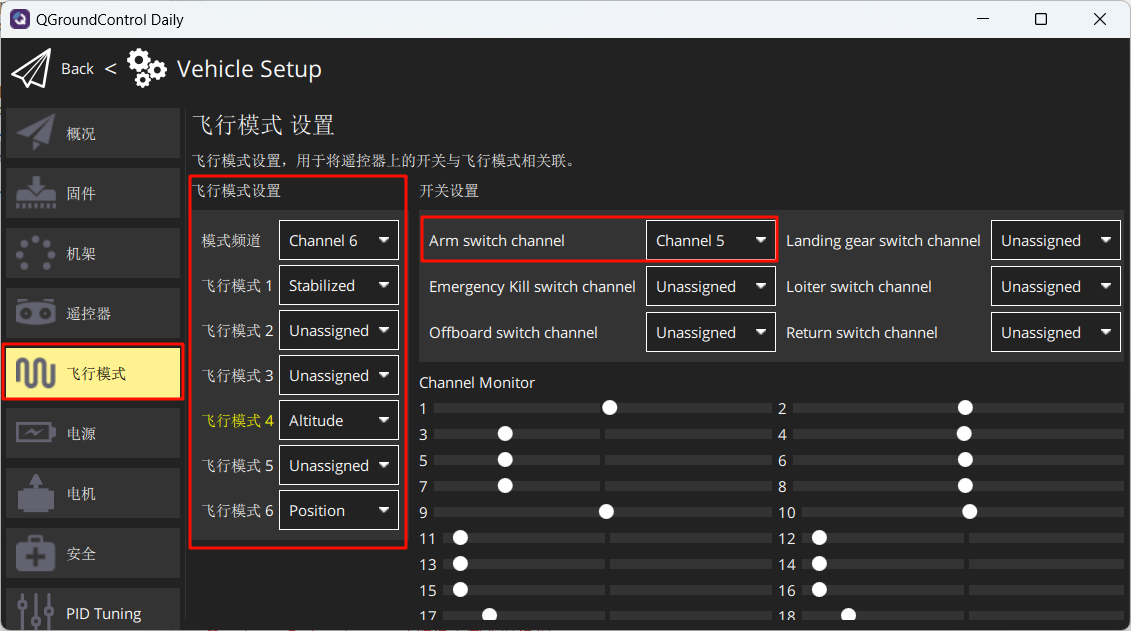
Set flight modes as shown below.
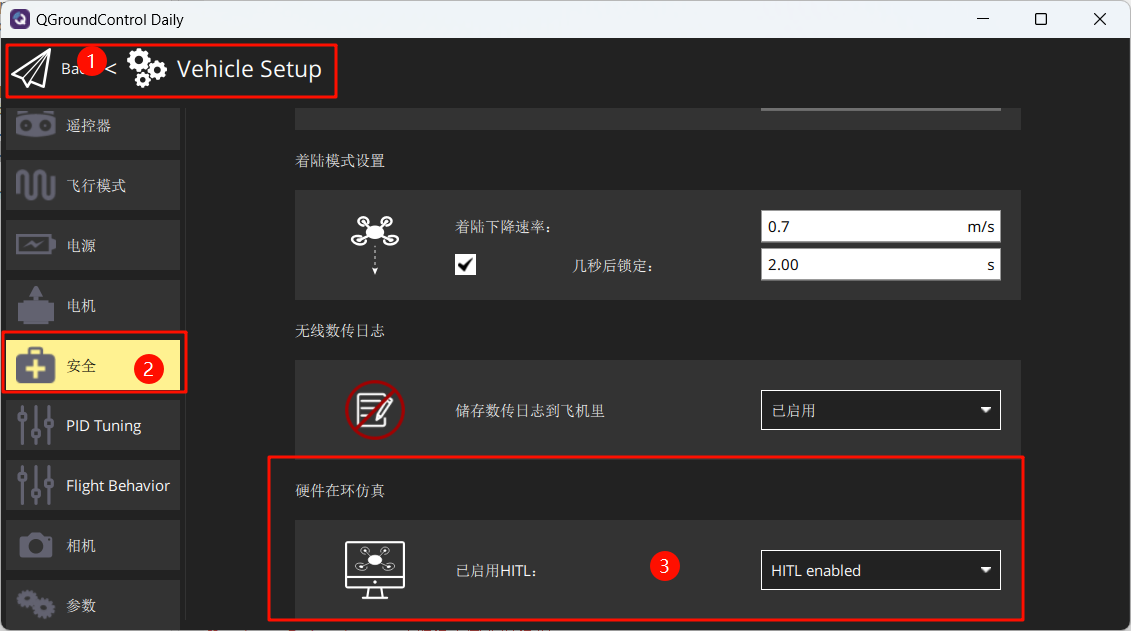
Under the “Safety” section, enable only Hardware-in-the-Loop (HIL) simulation.
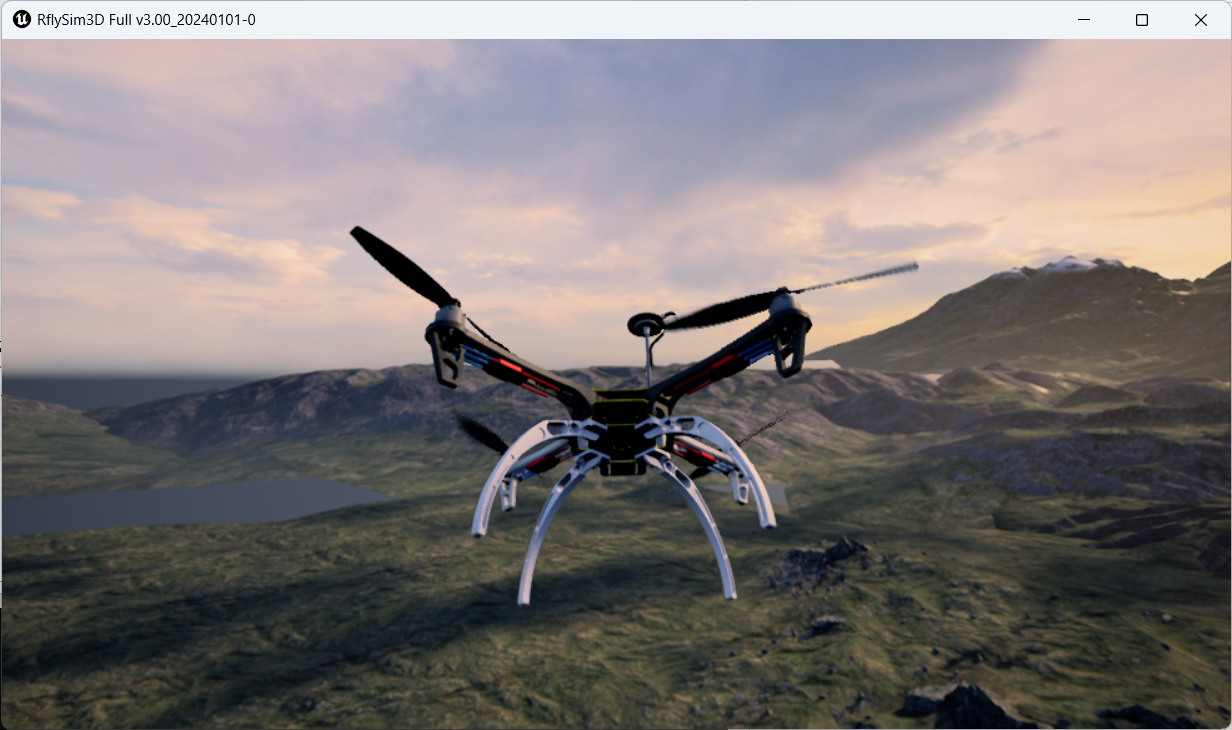
4. Launch Hardware-in-the-Loop (HIL) Simulation
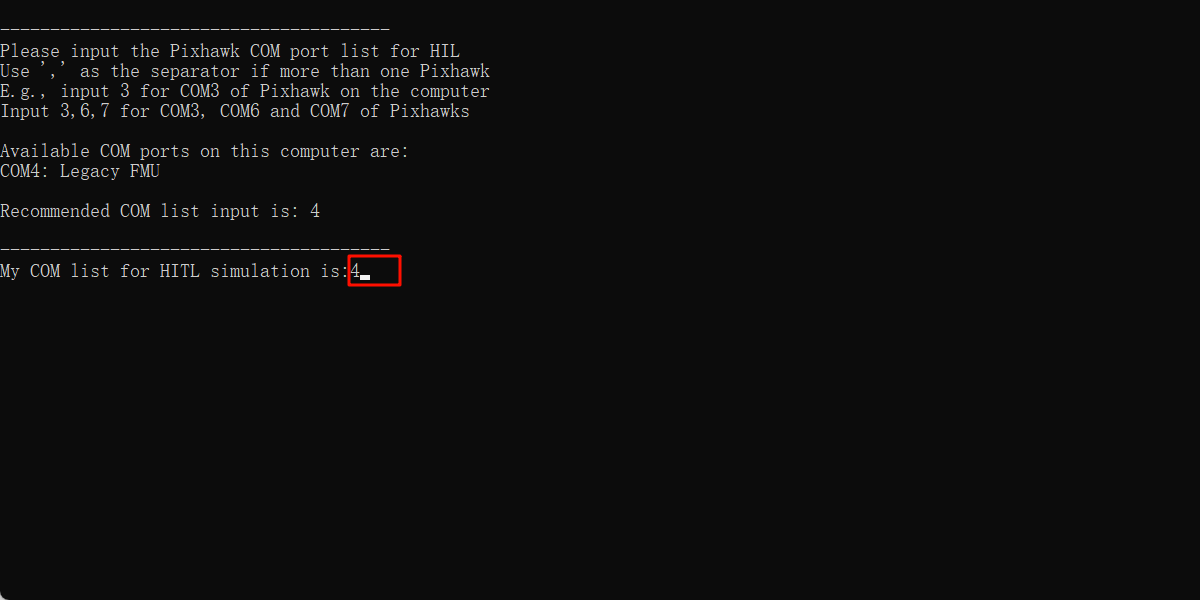
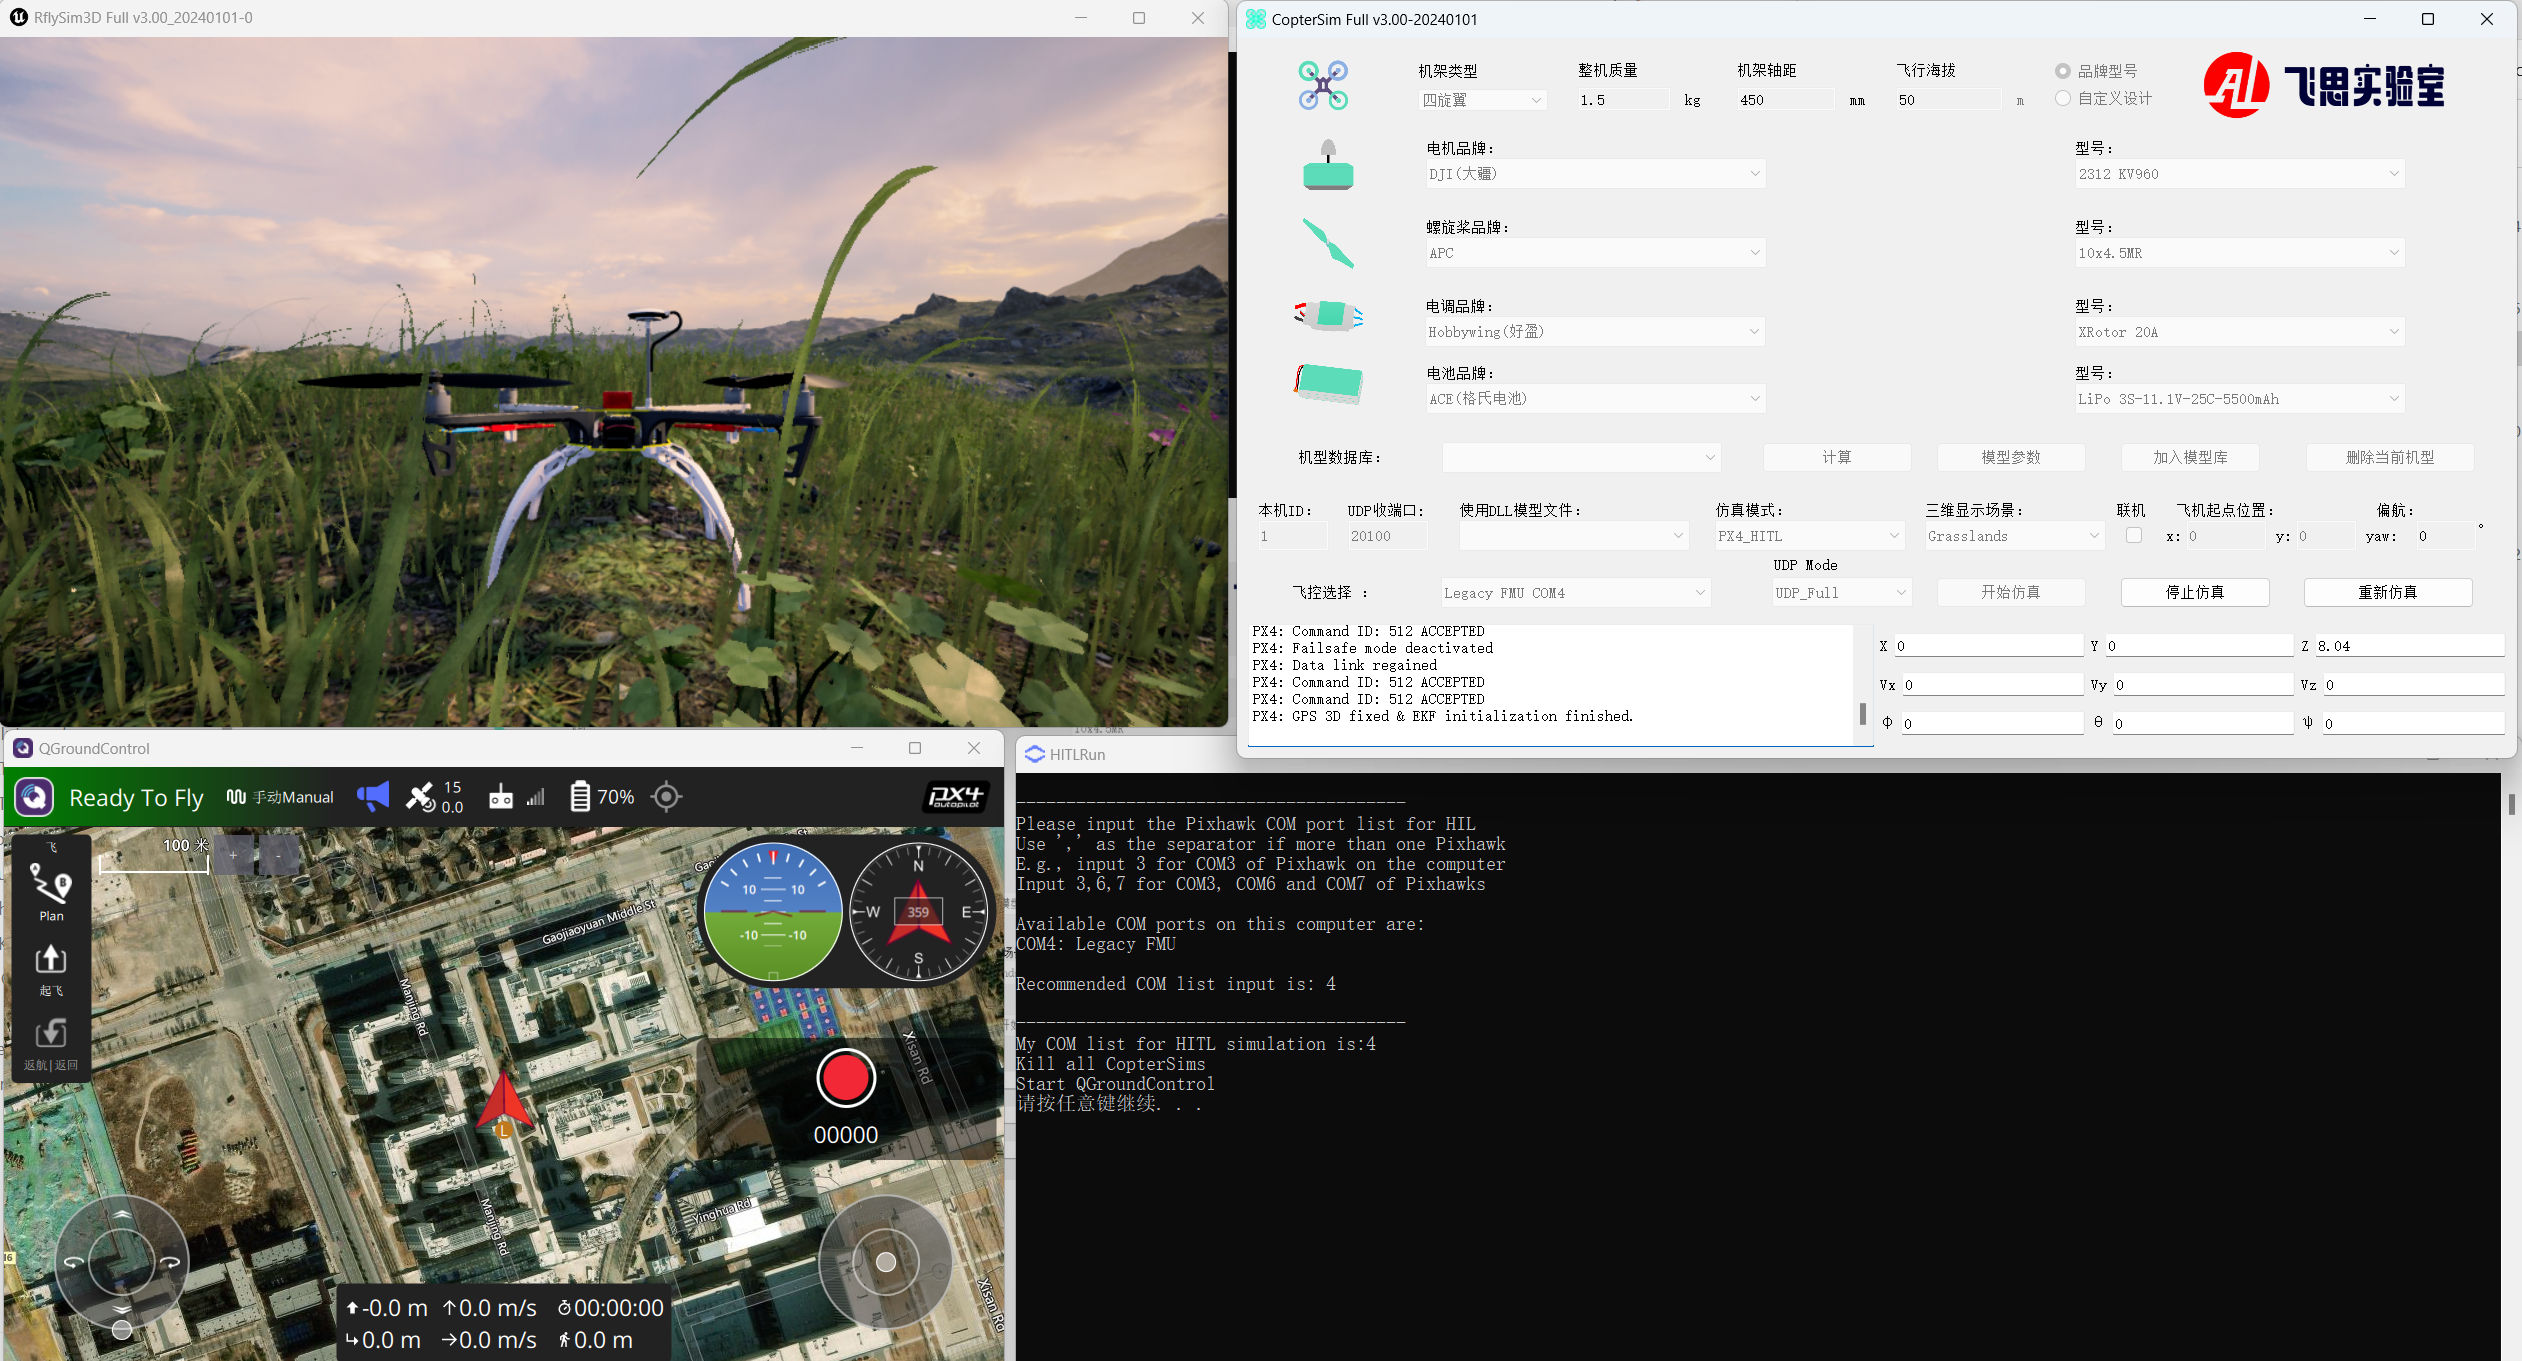
After completing the above settings, close QGC. Run the "[Installation Directory]\Desktop\RflyTools\HITLRun.lnk" script as an administrator. In the pop-up cmd window, enter the flight controller’s port number (e.g., 4).
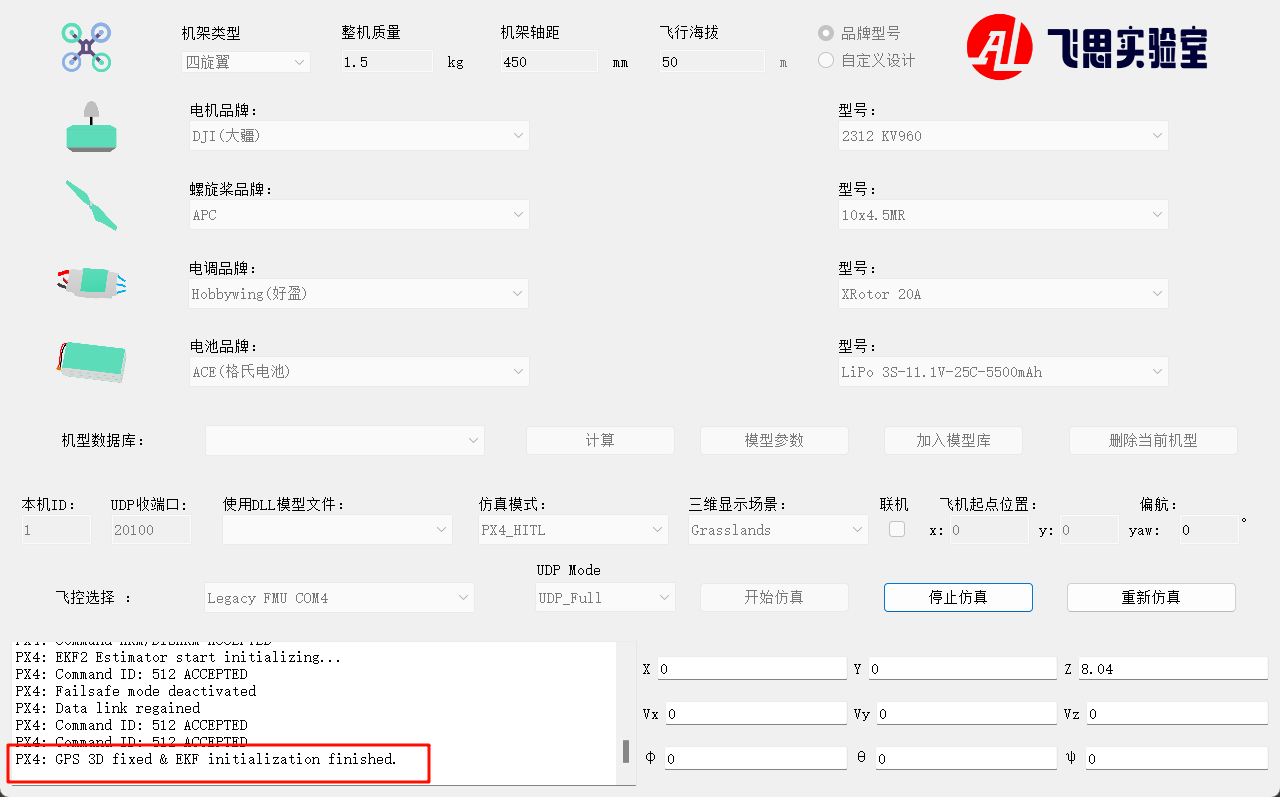
Wait until the bottom-left corner of CopterSim displays: “PX4: GPS 3D fixed & EKF initialization finished.”
Disarm the aircraft using channel CH5 on the remote control, then take off and control flight.