Toolchain Long-Term Support for Flight Controller Introduction 
1. Pixhawk 6C & 6C Mini
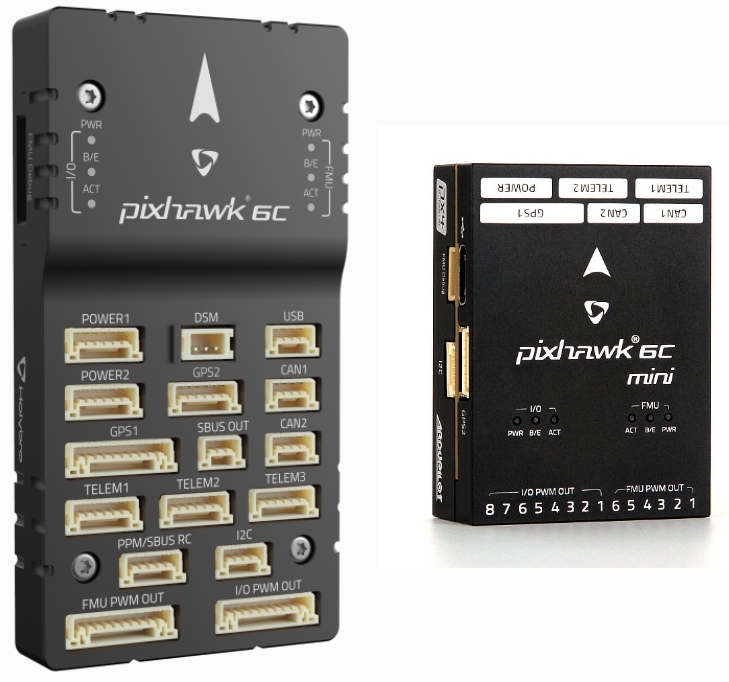
The Pixhawk 6C is the latest upgrade in Holybro’s successful Pixhawk® (flight) controller series, featuring an STM32H7 CPU, IMU vibration isolation, redundant IMUs, and IMU heating functionality. It comes in two form factors. The 6C Mini is a compact version with built-in PWM motor/servo headers, though it has slightly fewer ports. Its key features include:
- High-performance STM32H743 processor, offering stronger computational capability and larger memory.
- New high-cost-performance design with a compact form factor.
- A newly designed integrated vibration isolation system that filters high-frequency vibrations and reduces noise, ensuring accurate sensor readings.
- IMU temperature control via onboard heating resistors, maintaining the IMU at its optimal operating temperature.
2. RflySim Configuration
If using the Pixhawk 6X flight controller hardware, the recommended software installation and configuration is shown in the figure below; the hardware connection configuration remains identical to that of the Pixhawk 2.4.8.
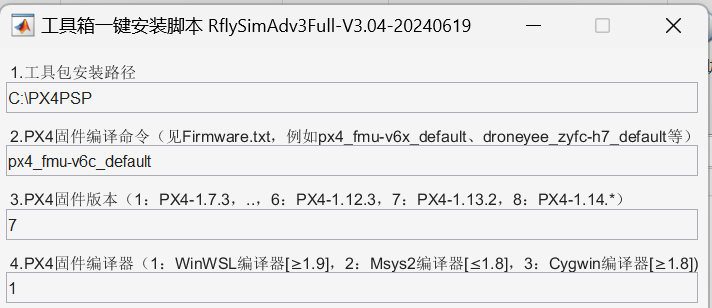
- Use the
px4_fmu-v6c_defaultcompilation command. - Select “7”: Firmware version PX4 1.13.2.
- Select “1”: WinWSL compiler.
3. Official Firmware and Restoration
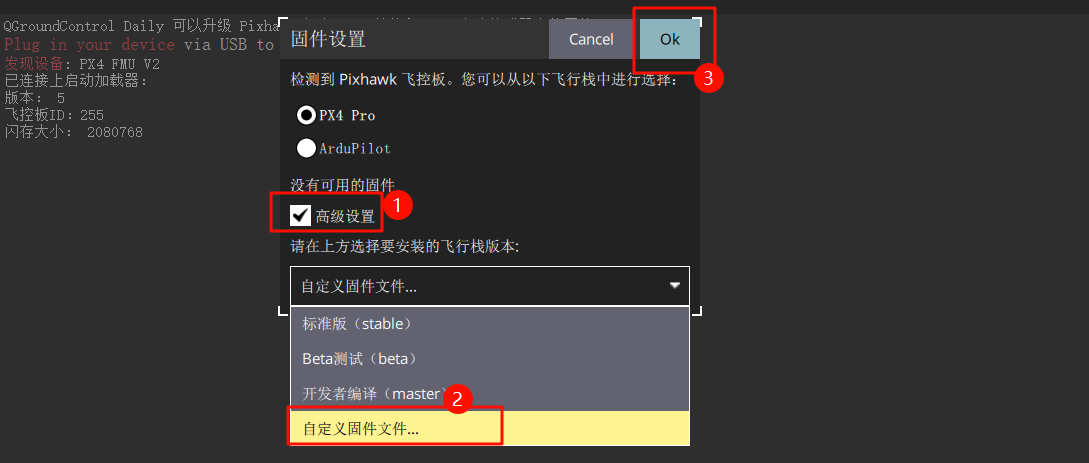
Open QGroundControl (QGC) and navigate to the following interface.
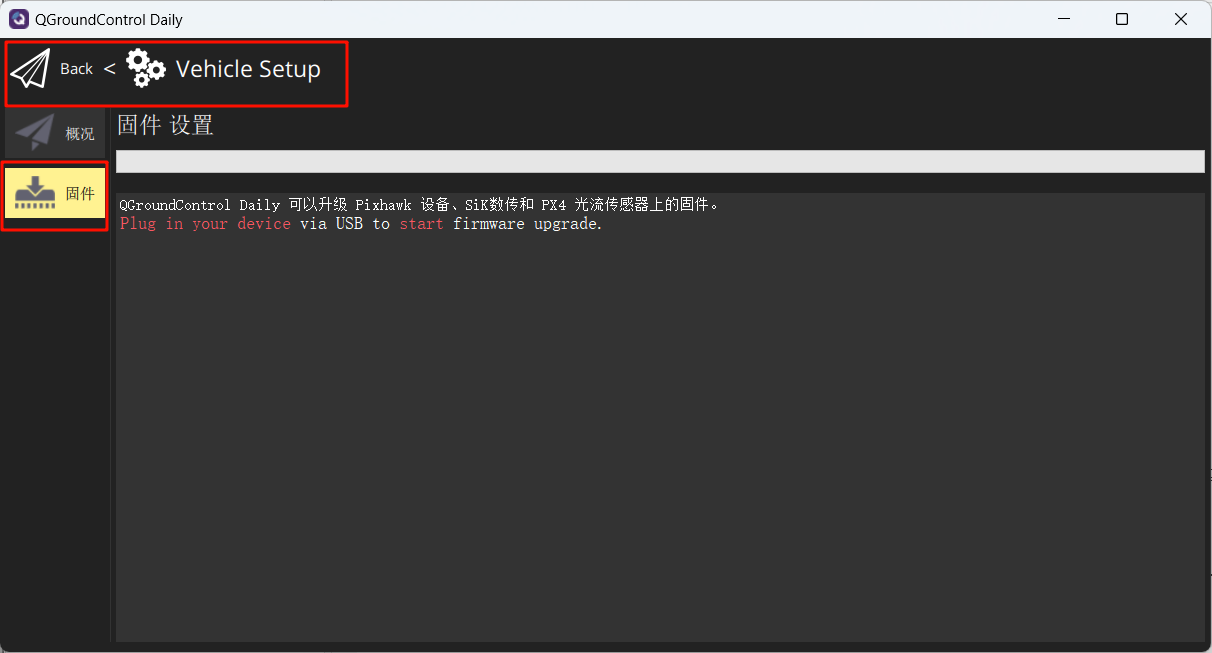
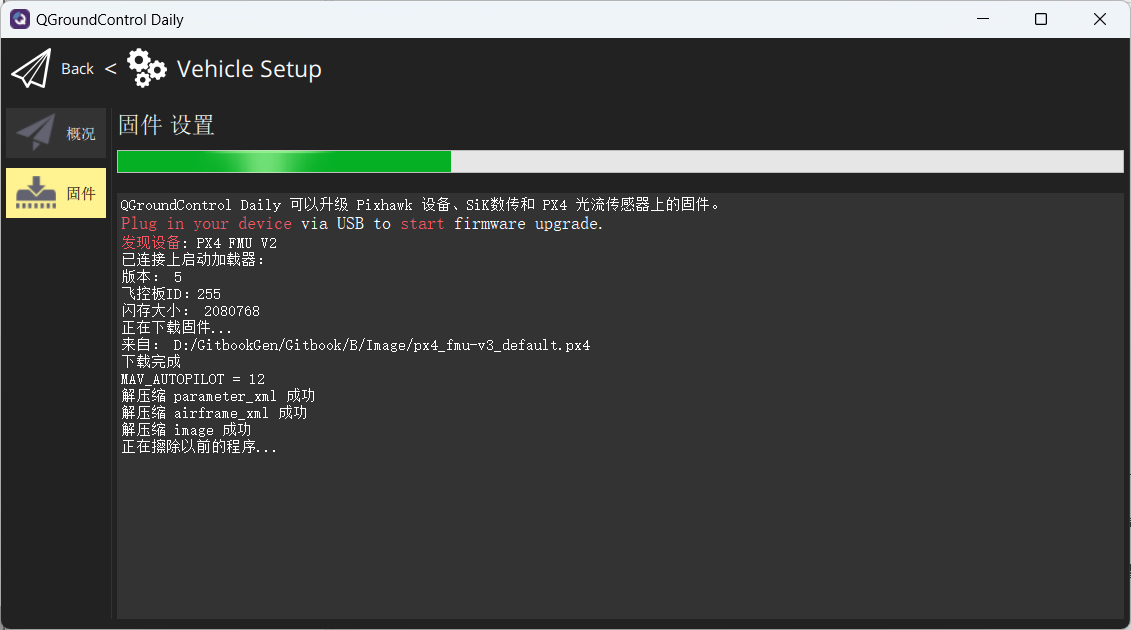
Connect the flight controller to your computer. In the pop-up interface, select Firmware and choose to flash the firmware: px4_fmu-v6c_default.px4
Wait for the firmware flashing process to complete.
Restore the flight controller parameters to their default firmware values.

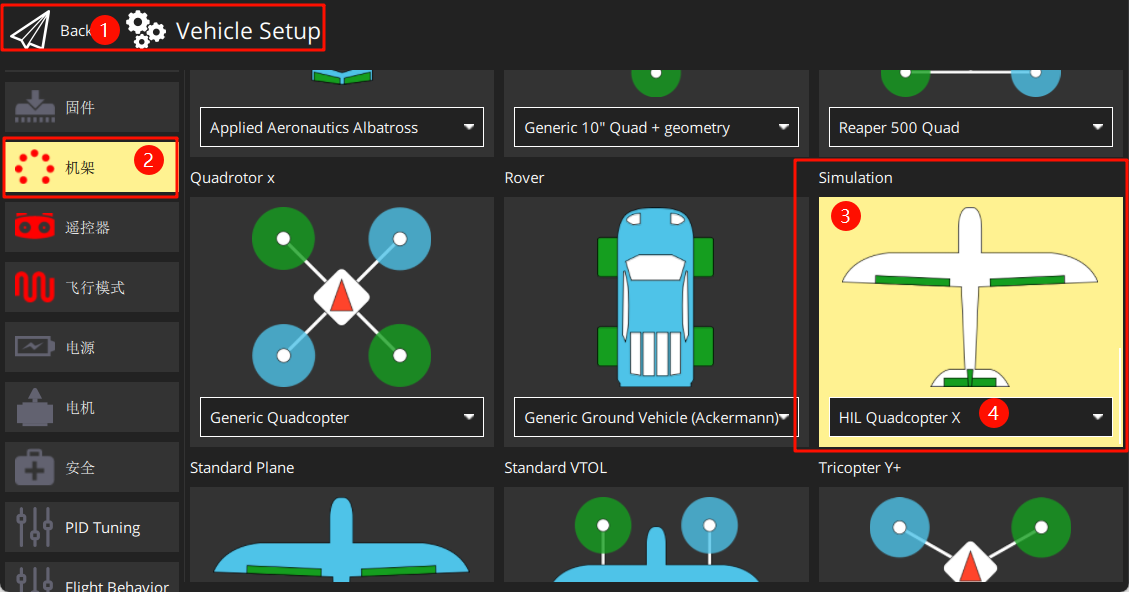
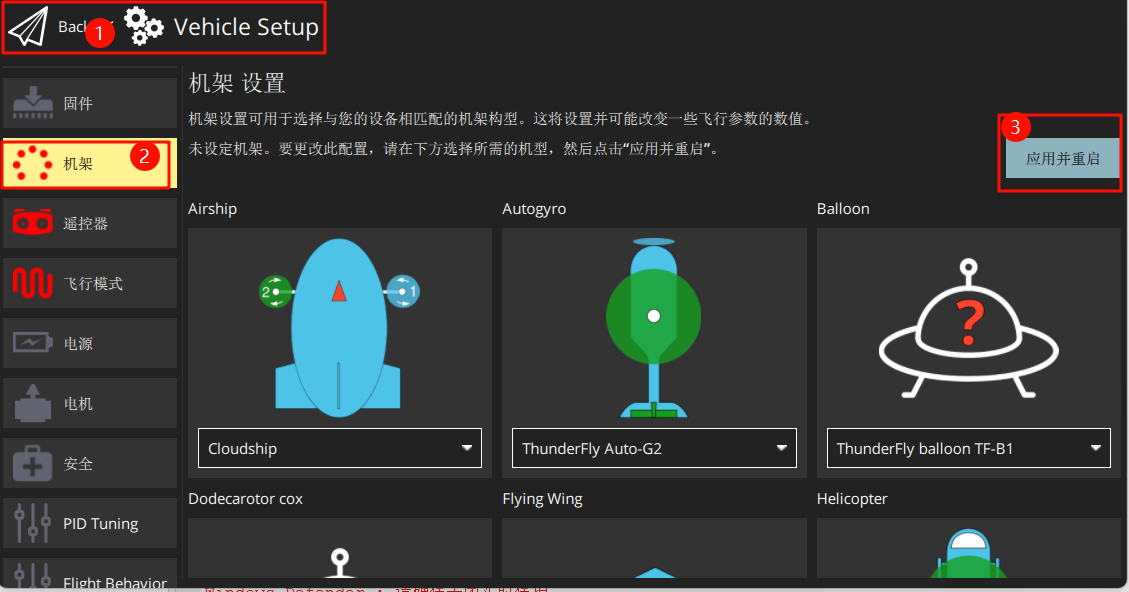
Set the airframe to HIL Quadcopter X, scroll to the top, and click Apply and Restart. Wait for the restart to complete.
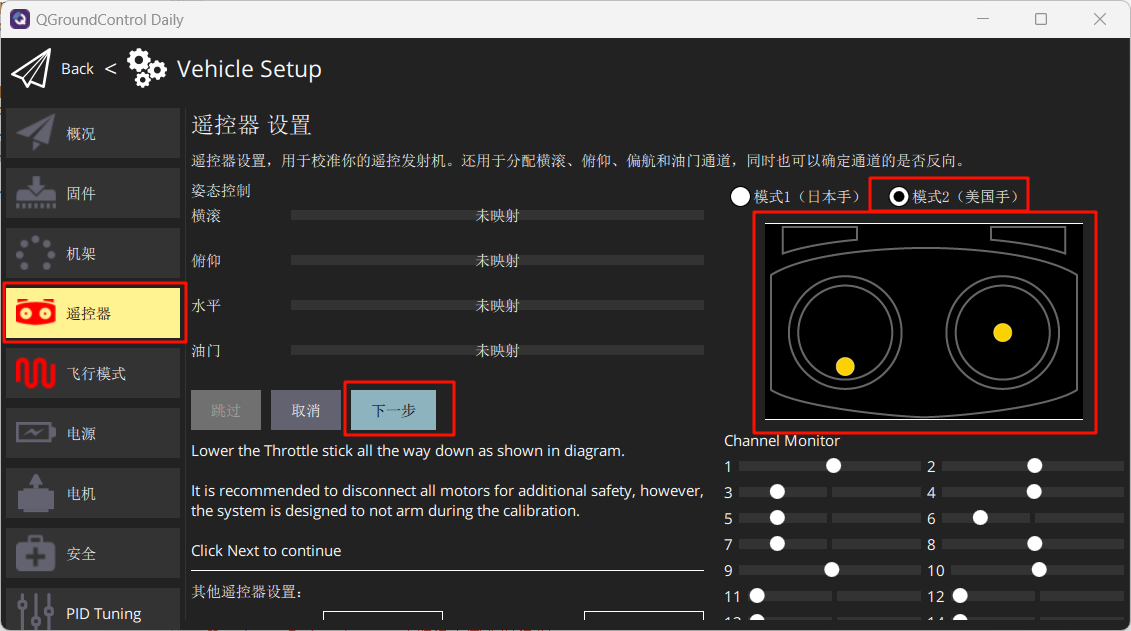
Connect the RC receiver (note the wiring sequence) and power on the remote controller. Calibrate the remote controller as shown in the figure.
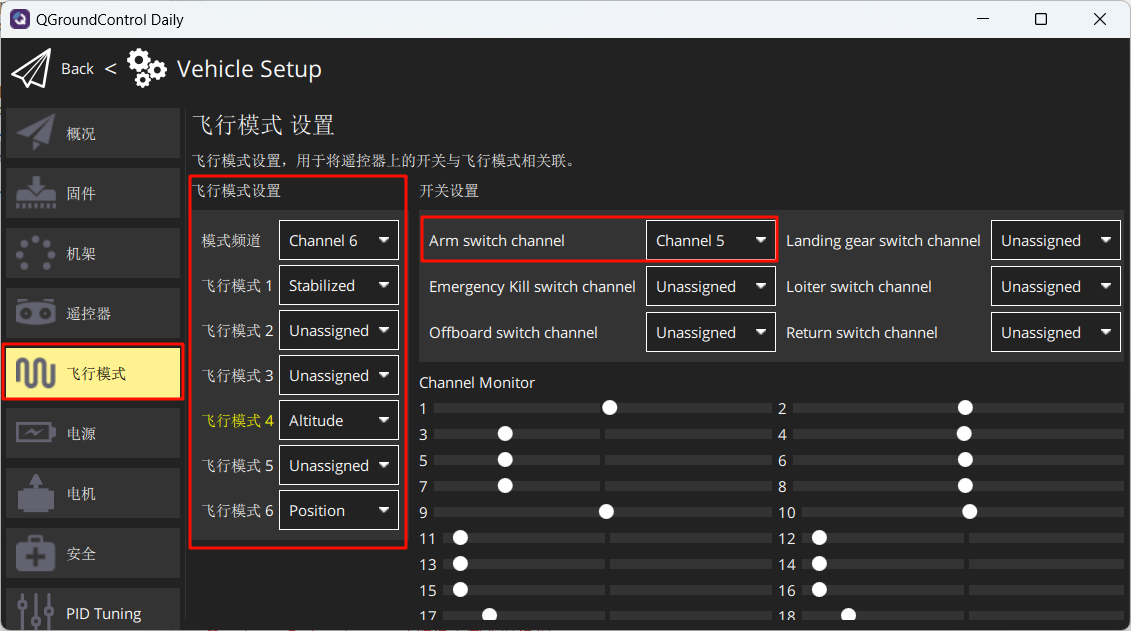
Set the flight modes as shown below.
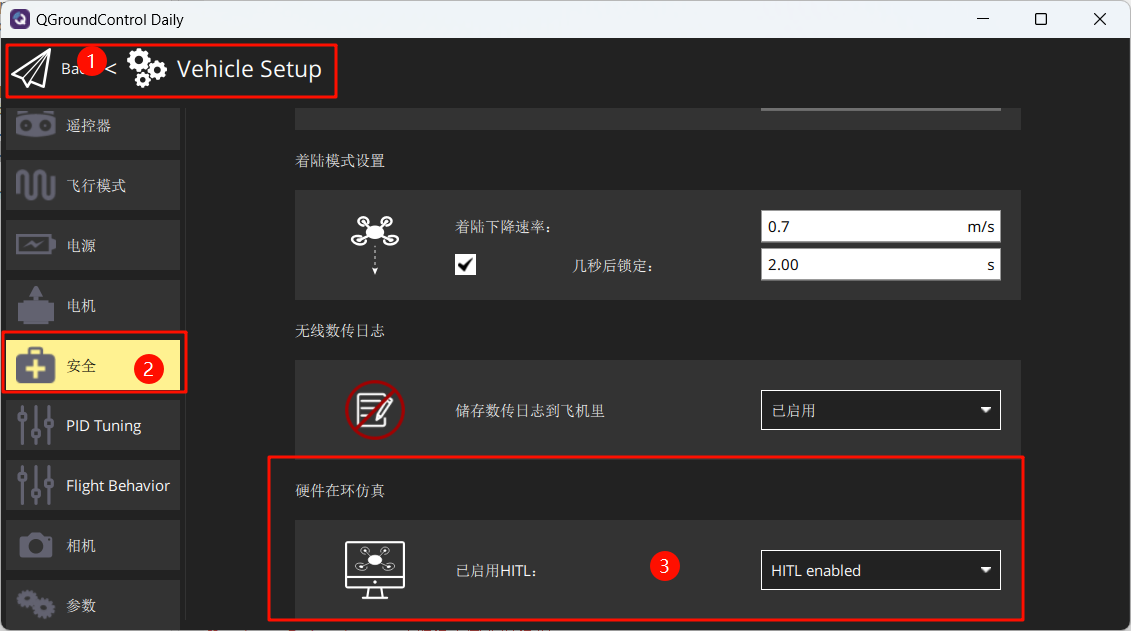
Under the Safety section, enable only Hardware-in-the-Loop (HIL) simulation.
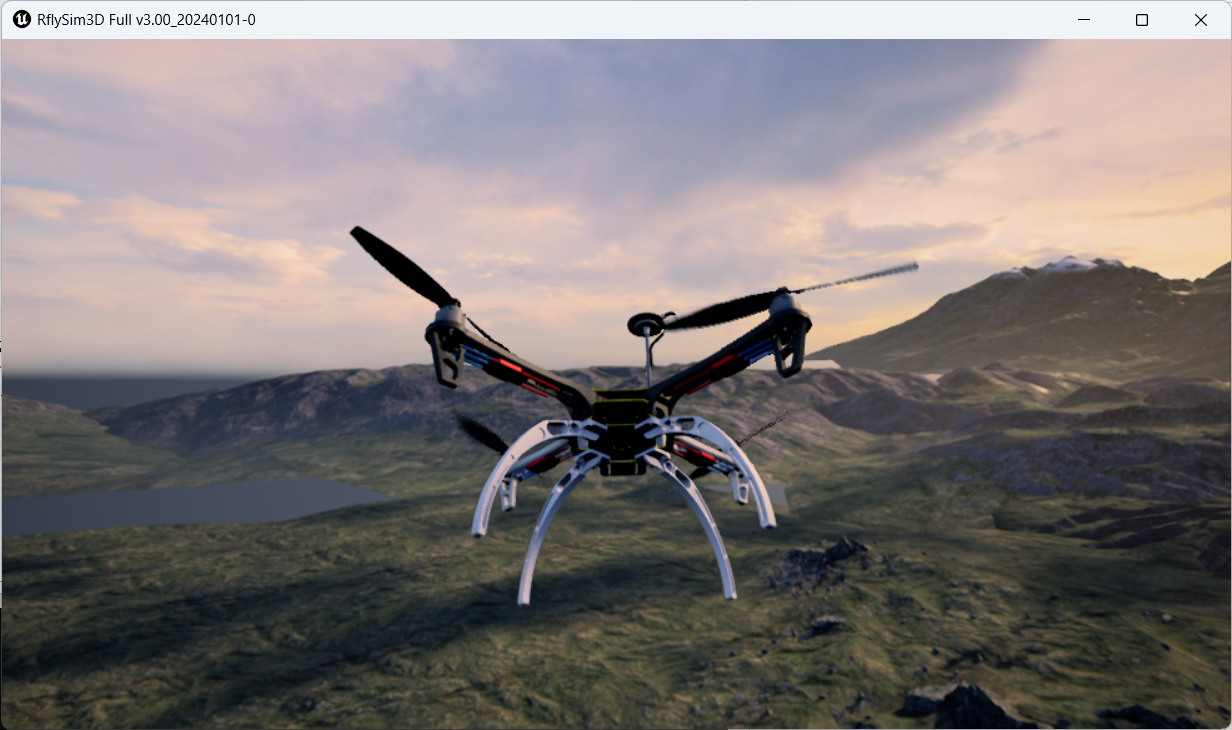
4. Launch Hardware-in-the-Loop (HIL) Simulation
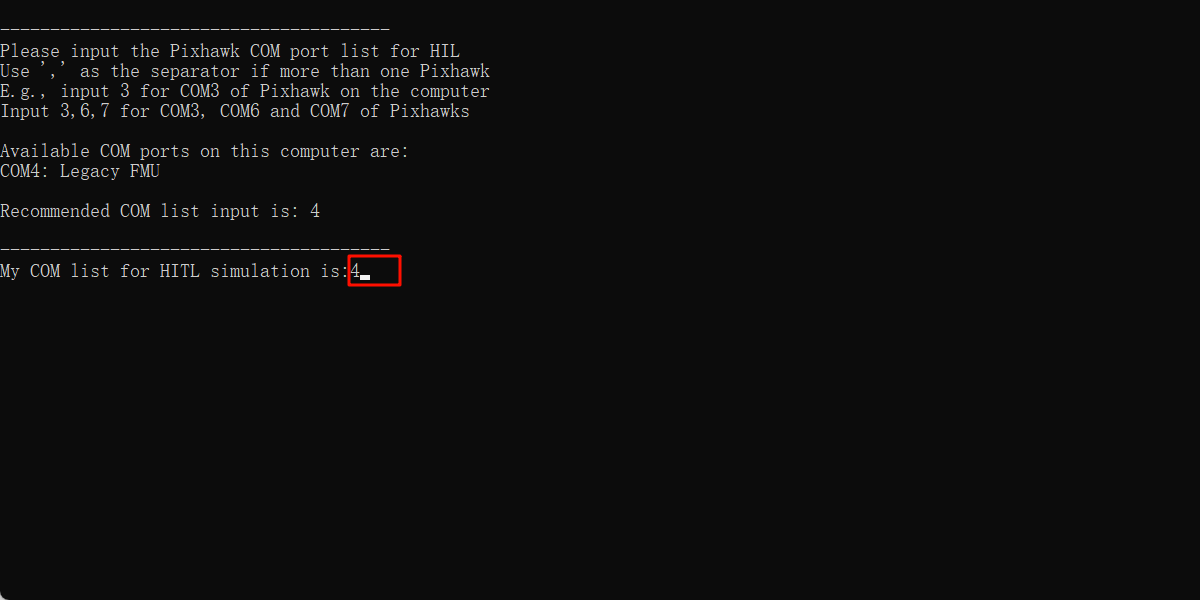
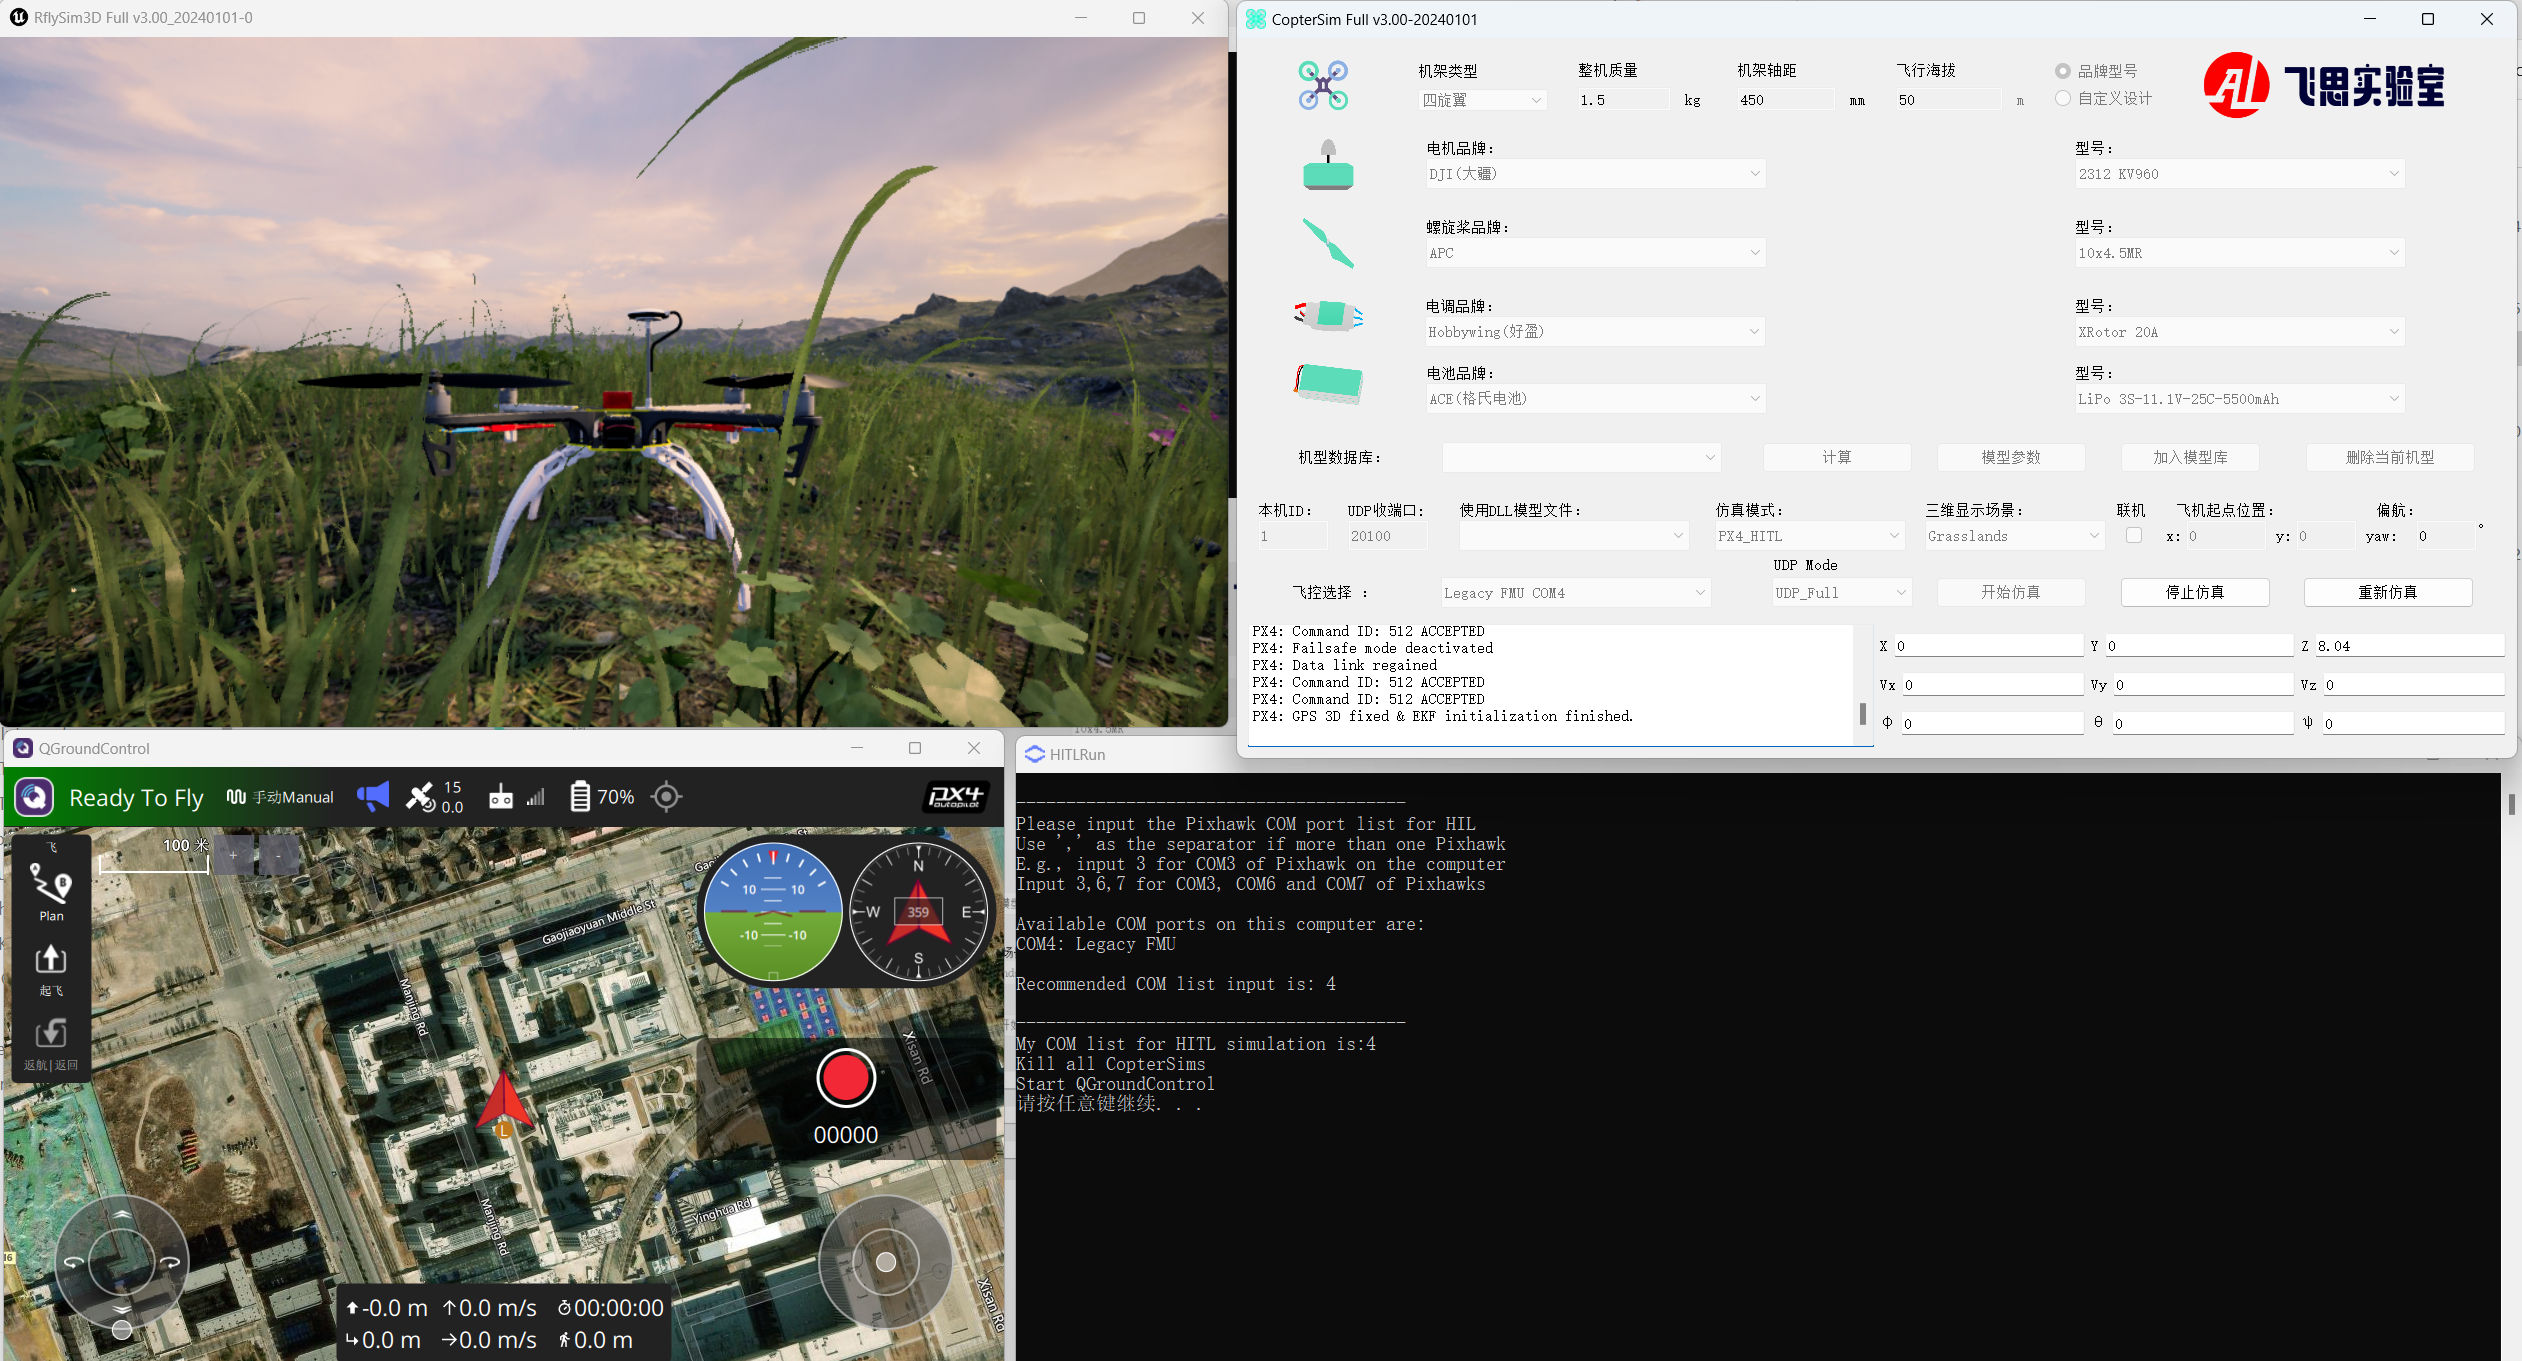
After completing the above setup, close QGC. Run the "[Installation Directory]\Desktop\RflyTools\HITLRun.lnk" script as Administrator. In the pop-up cmd window, enter the flight controller’s port number (e.g., 4).
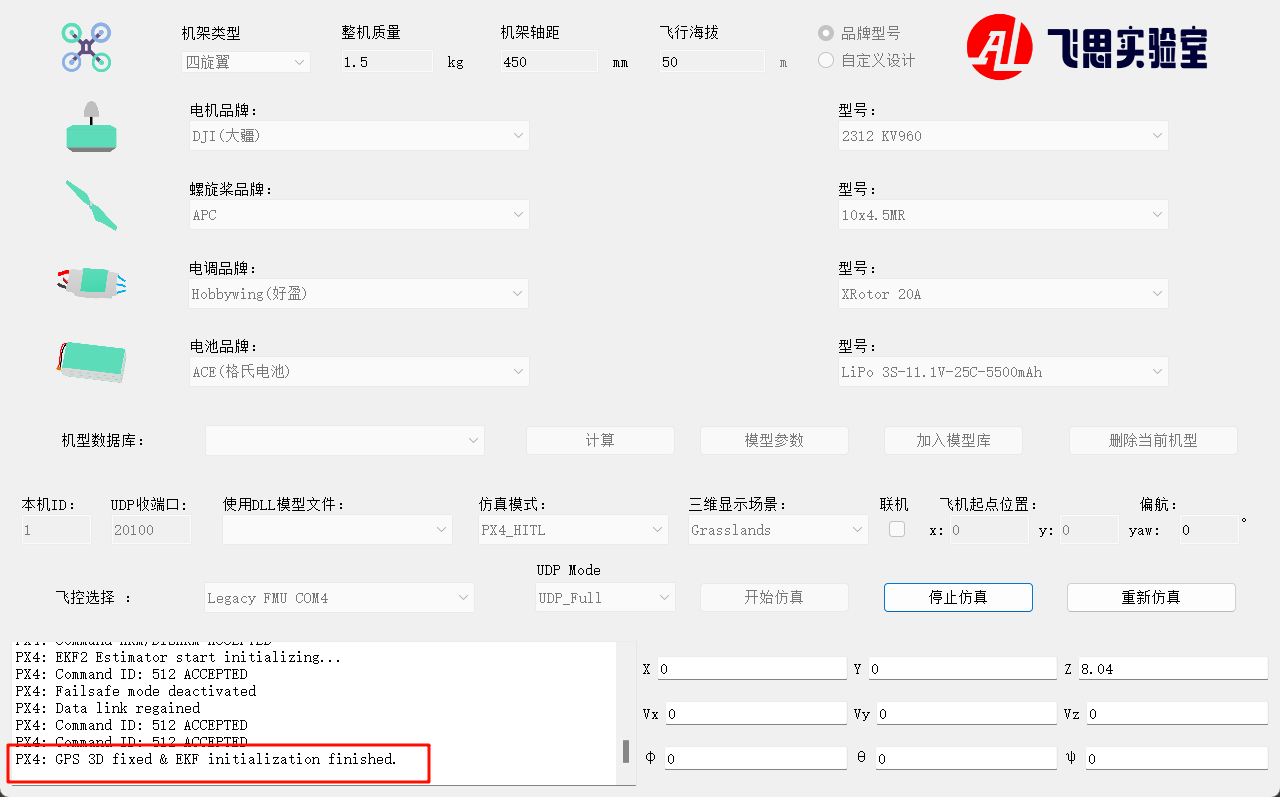
Wait until the bottom-left corner of CopterSim displays: PX4: GPS 3D fixed & EKF initialization finished.
Disarm the aircraft via channel CH5 on the remote controller, and then take off and control the aircraft flight.